Achieving a perfectly smooth wall surface for wallpaper installation is often a challenge. Prepping walls correctly is crucial before applying any wallpaper. Wall imperfections, like small dents or uneven textures, will show through wallpaper. Skim coat, a thin layer of joint compound applied over the entire wall, is the solution. In this guide, we’ll show you how to skim coat wallpaper for a professional finish, ensuring your wallpaper looks its best and lasts longer.
Skim Coat Wallpaper: Achieve a Perfectly Smooth Wall
This guide provides a step-by-step explanation of how to effectively skim coat wallpaper, resulting in a smooth, paint-ready surface. Preparing your walls properly before painting or applying new wallpaper is essential for a professional and long-lasting finish.
Why Skim Coat Wallpaper?
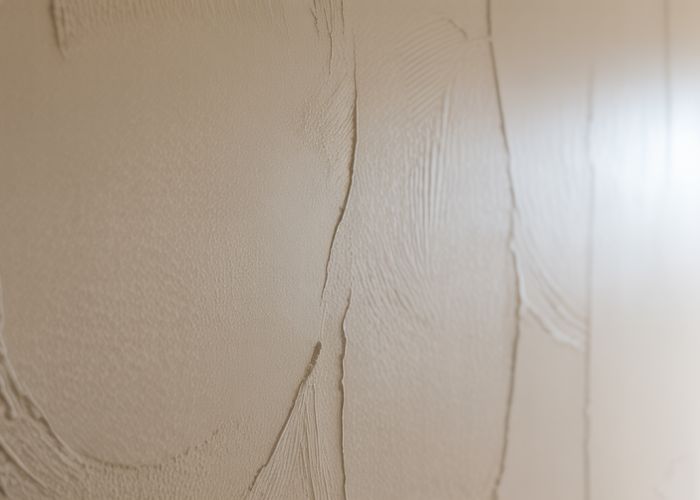
Skim coating wallpaper is necessary when the underlying wallpaper has texture, imperfections, or simply when you want a flawlessly smooth surface. Direct painting over wallpaper often highlights these flaws. Skim coating creates a seamless base for a new finish.
- Covers Imperfections: Hides textures, seams, and minor damage present on the wallpaper.
- Provides a Smooth Surface: Creates an ideal base for painting or applying new wallpaper.
- Improves Adhesion: Enhances the bond between the new finish and the wall.
- Professional Look: Results in a much more polished and professional final appearance.
Gathering Your Tools and Materials
Before you begin, ensure you have all the necessary tools and materials readily available. This will streamline the skim coating process.
Essential Tools
- Joint Compound/Drywall Mud: Choose an all-purpose or lightweight joint compound.
- Wide Taping Knives (6-inch, 10-inch, and potentially 12-inch): These are used to apply and smooth the compound.
- Mud Pan: For holding the joint compound.
- Sandpaper (120-grit and 220-grit): Used for sanding the dried compound.
- Sanding Block or Pole Sander: Makes sanding easier and more efficient.
- Primer: An oil-based or multi-purpose primer.
- Paint Roller or Brush: For applying the primer.
- Drop Cloths: To protect flooring and furniture.
- Painter’s Tape: For masking off trim and edges.
- Putty Knife: For small touch-ups and detail work.
- Clean Sponges: For wiping down surfaces.
Safety Gear
- Dust Mask or Respirator: To protect your lungs from dust while sanding.
- Eye Protection (Safety Glasses): To prevent dust from entering your eyes.
- Gloves: To protect your hands.
Step-by-Step Skim Coating Process
Follow these steps to achieve a smooth, skim-coated surface over your wallpaper.
-
Preparation is Key:
- Clean the Wallpaper: Thoroughly clean the wallpaper with a damp sponge to remove any dust, dirt, or grime.
- Secure Loose Edges: Use wallpaper paste or a strong adhesive to secure any loose edges or seams. These must be firmly attached before skim coating.
- Mask Off Areas: Use painter’s tape to protect trim, ceilings, and adjacent walls.
- Protect the Floor: Cover the floor with drop cloths to prevent messes.
-
Mixing the Joint Compound:
- Consistency Matters: The joint compound should be the consistency of thick cake batter.
- Add Water Gradually: If the compound is too thick, add small amounts of water and mix thoroughly until the desired consistency is achieved. Be careful not to add too much water, as this can weaken the compound.
-
Applying the First Coat:
- Load the Knife: Use the putty knife to scoop joint compound from the mud pan and load it onto the wider taping knife.
- Apply Evenly: Starting at the top of the wall, apply a thin, even layer of joint compound using smooth, overlapping strokes.
- Feather the Edges: Ensure the edges of each stroke are feathered out to blend seamlessly with the surrounding surface.
- Work in Sections: Apply the compound in manageable sections to prevent it from drying out before you can smooth it.
-
Smoothing the First Coat:
- Angle the Knife: Hold the taping knife at a shallow angle to the wall.
- Remove Excess Compound: Use long, sweeping strokes to remove excess compound and smooth the surface.
- Overlap Strokes: Overlap each stroke slightly to prevent ridges or lines.
-
Applying Subsequent Coats (if needed):
- Allow to Dry: Let the first coat dry completely (usually 12-24 hours, depending on humidity and the thickness of the application).
- Assess the Surface: Inspect the surface for imperfections, such as pinholes, ridges, or low spots.
- Apply Additional Coats: Apply one or two more thin coats of joint compound, following the same application and smoothing techniques as with the first coat. Each coat should be thinner than the previous one. Allow each coat to dry completely before applying the next.
-
Sanding the Surface:
- Ensure Complete Drying: Make sure the final coat is completely dry before sanding.
- Start with 120-grit: Use 120-grit sandpaper to remove any major imperfections, such as ridges, bumps, or uneven areas.
- Finish with 220-grit: Switch to 220-grit sandpaper to smooth the surface and create a consistent texture.
- Use a Sanding Block: Wrap the sandpaper around a sanding block for even pressure and control.
- Pole Sander for High Areas: A pole sander is useful for sanding hard-to-reach areas near the ceiling.
- Light Pressure: Use light pressure while sanding to avoid gouging the surface.
- Clean Frequently: Wipe down the wall frequently with a damp sponge to remove sanding dust.
-
Priming the Surface:
- Remove Dust: Thoroughly clean the wall to remove all sanding dust. A tack cloth works well for this.
- Apply Primer: Apply a coat of oil-based or multi-purpose primer to the skim-coated surface. This will seal the compound and provide a good base for paint or new wallpaper.
- Allow to Dry: Let the primer dry completely according to the manufacturer’s instructions.
-
Finishing:
- Paint or Wallpaper: You are now ready to paint or apply new wallpaper to your smooth, skim-coated wall.
Tips for Success
- Practice Makes Perfect: If you are new to skim coating, practice on a small, inconspicuous area first.
- Thin Coats are Better: Multiple thin coats are better than one thick coat. They dry faster, are easier to sand, and are less prone to cracking.
- Clean Your Tools: Clean your tools immediately after use to prevent the joint compound from drying and hardening.
- Control Dust: Keep your work area well-ventilated to minimize dust.
Troubleshooting Common Issues
| Issue | Possible Cause(s) | Solution(s) |
|---|---|---|
| Cracking | Compound applied too thick, drying too quickly | Apply thinner coats, ensure proper ventilation, avoid direct sunlight. If cracks appear, fill them with more compound and re-sand. |
| Pinholes | Air trapped in the compound, over-mixing | Mix the compound gently, apply with more pressure to release air bubbles. For existing pinholes, fill them with compound and re-sand. |
| Uneven Surface | Inconsistent application, poor sanding technique | Apply compound evenly, use overlapping strokes, and take your time sanding. Use a sanding block for even pressure. |
| Compound not adhering | Dirty wallpaper, incompatible primer | Thoroughly clean the wallpaper before applying compound. Use a primer that is compatible with both the compound and the final finish (paint or wallpaper). |
FAQs: Skim Coat Wallpaper
Here are some frequently asked questions regarding skim coating wallpaper to achieve a smooth finish.
Can I really skim coat over wallpaper?
Yes, you can skim coat wallpaper, but proper preparation is crucial. Ensure the wallpaper is well-adhered, clean, and free of loose edges. Skim coating directly over unstable wallpaper will lead to problems later.
What kind of compound should I use to skim coat wallpaper?
A lightweight, all-purpose joint compound is best for skim coating wallpaper. It’s easy to sand and provides a smooth surface for painting or new wallpaper. Pre-mixed options are convenient for smaller projects.
How many coats of skim coat are usually needed to skim coat wallpaper?
Typically, two to three thin coats of skim coat are needed to effectively skim coat wallpaper. Each coat should be fully dried and lightly sanded before applying the next. The goal is a perfectly smooth and even surface.
Is it difficult to sand a skim coated wall after skim coat wallpaper?
Sanding a skim coated wall is relatively easy, especially with lightweight joint compound. Use a sanding pole with a medium-grit sandpaper (around 120-grit) and apply even pressure. Vacuum the dust thoroughly after sanding to ensure proper adhesion of primer or paint.
So, there you have it! Now you’re armed with the knowledge to tackle that skim coat wallpaper project. Happy decorating!