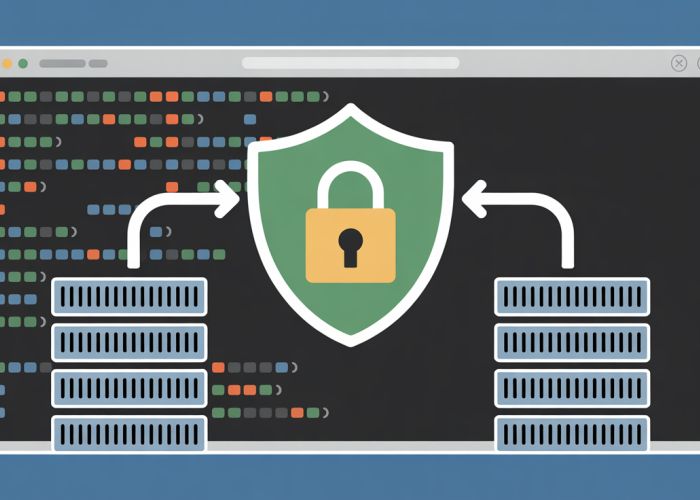
For system administrators focused on data security, PuTTY’s Secure Copy (PSCP) offers a command-line utility designed for pscp file transfer. This method, commonly employed in environments managed by the OpenSSH project, provides a robust and encrypted channel for moving files. Configuration often involves setting up authentication keys within the target server environment, ensuring authorized access. This guide will provide a clear, step-by-step walkthrough of secure pscp file transfer.
Optimizing Your Article Layout for "Secure PSCP File Transfer: A Step-by-Step Guide!"
This guide outlines the ideal article layout for a comprehensive and user-friendly step-by-step guide on "secure PSCP file transfer." The structure prioritizes clarity, ease of understanding, and optimization for the main keyword "pscp file transfer."
1. Introduction: Setting the Stage for Secure File Transfers
This section should introduce PSCP (PuTTY Secure Copy client) and its purpose.
- Headline: Start with a compelling headline that incorporates the primary keyword: "Secure PSCP File Transfer: A Step-by-Step Guide for Beginners" or similar.
- Overview: Briefly explain what PSCP is and what it does. Emphasize its role in secure file transfer.
- Why PSCP?: Highlight the advantages of using PSCP over other file transfer methods. Mention security (SSH-based), command-line interface (for scripting and automation), and availability (part of the PuTTY suite).
- Target Audience: Briefly mention who this guide is for. (e.g., "This guide is perfect for system administrators, developers, and anyone looking to securely transfer files using the command line.")
- What You’ll Need: List the prerequisites in a concise bulleted list:
- PuTTY installed on your local machine (Windows, macOS, or Linux).
- SSH access to the remote server.
- Username and password (or SSH key) for the remote server.
2. Understanding PSCP Basics
This section delves deeper into PSCP, covering important concepts.
2.1 PSCP Syntax Explained
-
General Syntax: Provide the basic syntax of a PSCP command. Use a code block to illustrate this.
pscp [options] [source] [destination] -
Explanation of Components: Break down the syntax components:
pscp: The command to execute the PSCP client.[options]: Optional flags to modify the behavior of PSCP (e.g., specifying the port, using an SSH key).[source]: The file or directory to transfer (either local or remote).[destination]: The location to transfer the file or directory to (either local or remote).
2.2 Essential PSCP Options
Present a table summarizing common and important PSCP options:
| Option | Description | Example |
|---|---|---|
-P port |
Specifies the port number to connect to. | pscp -P 2222 ... |
-i keyfile |
Uses a private key file for authentication. | pscp -i my_key.ppk ... |
-r |
Recursively copies directories. | pscp -r ... |
-scp |
Forces SCP protocol version 1 (older systems). | pscp -scp ... |
-v |
Shows verbose output for debugging. | pscp -v ... |
3. Step-by-Step Guide: Performing a PSCP File Transfer
This is the core section of the guide. Each step should be clear, concise, and accompanied by code examples.
3.1 Transferring a File From Your Local Machine To a Remote Server
-
Open your command prompt or terminal.
-
Construct the PSCP command. Explain each part of the command clearly.
pscp /path/to/local/file.txt username@remote_server:/path/to/remote/destination/- Explain:
/path/to/local/file.txtis the full path to the file on your local machine. - Explain:
username@remote_serveris your username and the address (hostname or IP address) of the remote server. - Explain:
:/path/to/remote/destination/is the full path to the destination directory on the remote server. The colon (:) is essential.
- Explain:
-
Execute the command.
-
Enter your password (if prompted).
-
Verify the transfer. Suggest a method to check if the file was successfully transferred (e.g., logging into the remote server and listing the contents of the destination directory).
3.2 Transferring a File From a Remote Server To Your Local Machine
-
Open your command prompt or terminal.
-
Construct the PSCP command. Explain each part of the command.
pscp username@remote_server:/path/to/remote/file.txt /path/to/local/destination/- Explain the reversal of the source and destination.
-
Execute the command.
-
Enter your password (if prompted).
-
Verify the transfer. Suggest a method to check if the file was successfully transferred.
3.3 Transferring a Directory Recursively
-
Open your command prompt or terminal.
-
Construct the PSCP command with the
-roption.pscp -r /path/to/local/directory username@remote_server:/path/to/remote/destination/- Explain the meaning and importance of the
-roption.
- Explain the meaning and importance of the
-
Execute the command.
-
Enter your password (if prompted).
-
Verify the transfer. Suggest a method to check.
3.4 Using SSH Keys for Authentication (Instead of Passwords)
-
Explain the benefits of using SSH keys over passwords. (e.g., enhanced security).
-
Prerequisites: Assume the user already has an SSH key pair. Link to another resource explaining how to generate SSH keys if necessary (optional, but highly recommended).
-
Construct the PSCP command using the
-ioption.pscp -i /path/to/your/private_key.ppk /path/to/local/file.txt username@remote_server:/path/to/remote/destination/- Explain:
/path/to/your/private_key.ppkis the full path to your PuTTY private key file (.ppk).
- Explain:
-
Execute the command. (No password prompt should appear).
-
Verify the transfer.
4. Troubleshooting Common PSCP Errors
This section helps users resolve common issues.
- Error: "Network error: Connection refused"
- Possible causes: Server down, incorrect port specified, firewall blocking the connection.
- Solutions: Verify server status, check the port number (
-Poption), check firewall settings.
- Error: "Access denied"
- Possible causes: Incorrect username or password, SSH key not configured correctly.
- Solutions: Double-check credentials, verify SSH key setup on the server.
- Error: "No such file or directory"
- Possible causes: Incorrect file or directory path.
- Solutions: Carefully check the source and destination paths. Ensure the paths are relative to the correct location (local or remote).
For each error, provide a brief explanation of the cause and suggest one or more solutions.
5. Advanced PSCP Usage (Optional)
This section could cover more advanced topics. Including this section makes the article more comprehensive and useful for experienced users.
5.1 Scripting PSCP for Automated Transfers
- Briefly explain how PSCP commands can be incorporated into scripts for automated file transfers.
- Provide a simple example script (e.g., a Bash script or PowerShell script).
5.2 Using PSCP with Different SSH Configurations
- Briefly discuss situations where non-standard SSH configurations might require adjustments to PSCP commands.
- Mention the use of PuTTY sessions and how they can be referenced by PSCP.
Frequently Asked Questions About Secure PSCP File Transfers
Here are some common questions about using PSCP for secure file transfers. This section aims to clarify some key aspects and potential issues you might encounter while following the guide.
What is PSCP and how is it different from regular FTP?
PSCP (PuTTY Secure Copy) is a command-line tool for securely transferring files between computers over an SSH connection. Unlike regular FTP, which transmits data unencrypted, PSCP encrypts all data, including passwords, protecting your information from eavesdropping during the pscp file transfer process.
Do I need PuTTY installed to use PSCP?
Yes, PSCP is part of the PuTTY suite of tools. You need to download and install the PuTTY package, which includes PSCP, before you can start using it for pscp file transfer.
What if I get a "connection refused" error during the PSCP file transfer?
A "connection refused" error typically indicates that the SSH service is not running or is not accessible on the remote server. Ensure the SSH server is running, the firewall allows connections on port 22 (or the custom SSH port), and you are using the correct hostname or IP address in your PSCP command.
How can I transfer multiple files or an entire directory using PSCP?
To transfer multiple files, you can use wildcards in the PSCP command (e.g., pscp *.txt user@host:/destination/). To transfer an entire directory, use the -r (recursive) option, for example, pscp -r /local/directory user@host:/destination/. This will copy the entire directory structure during the pscp file transfer.
And that’s it! Now you know how to handle secure pscp file transfer. Hopefully, this guide made the process a little less daunting. Go give it a shot and let me know if you have any questions!