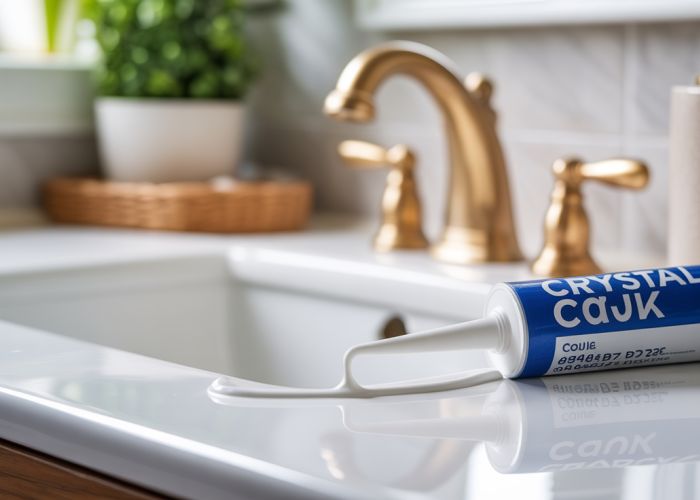
Achieving a flawless seal often requires the right materials and techniques. Bathroom renovation projects, for example, frequently demand the use of crystal clear caulk to create waterproof and aesthetically pleasing finishes. The applicator gun is an indispensable tool for precise application, allowing for smooth, even beads. Proper surface preparation ensures optimal adhesion of the crystal clear caulk, minimizing the risk of leaks and ensuring long-lasting results. Finally, understanding the properties of different caulk types, including crystal clear caulk, is crucial because manufacturers like DAP provide various formulations for specific applications.
Mastering Crystal Clear Caulk: Your Go-To Guide
Crystal clear caulk is a fantastic sealant option for areas where you want a clean, almost invisible finish. However, getting professional-looking results requires more than just squeezing the tube. This guide will walk you through the essential steps and pro tips to ensure your crystal clear caulk application is flawless.
Understanding Crystal Clear Caulk
Before diving into the application process, let’s understand what makes crystal clear caulk unique and where it excels.
What is Crystal Clear Caulk?
Crystal clear caulk is a type of sealant formulated to dry transparently. Unlike white or colored caulks, it doesn’t hide the materials beneath it. This makes it ideal for:
- Sealing around glass, mirrors, and transparent surfaces.
- Filling gaps where you want the underlying material to remain visible.
- Creating a clean, minimalist aesthetic.
Advantages and Disadvantages
| Feature | Advantage | Disadvantage |
|---|---|---|
| Transparency | Blends seamlessly with surrounding surfaces. | Dirt and imperfections beneath are more visible. |
| Versatility | Suitable for a variety of materials. | May not be suitable for large gaps or heavy-duty uses. |
| Aesthetics | Creates a clean, modern look. | Can yellow over time, especially in direct sunlight. |
Preparing for Application: The Key to Success
Proper preparation is crucial for achieving a professional-looking crystal clear caulk application.
Gathering Your Supplies
You’ll need the following items:
- Crystal Clear Caulk: Choose a high-quality brand specifically formulated to remain clear and resist yellowing.
- Caulk Gun: A sturdy caulk gun ensures smooth and even application.
- Utility Knife or Razor Blade: For removing old caulk and trimming the nozzle.
- Caulk Removal Tool (Optional): Helps remove old caulk cleanly.
- Cleaning Supplies: Cleaner, water, and cloths for cleaning the surfaces.
- Masking Tape: To create clean lines and protect surrounding surfaces.
- Smoothing Tool: A caulk smoothing tool or even a gloved finger will help create a professional finish.
- Paper Towels: For wiping away excess caulk.
Preparing the Surface
- Remove Old Caulk: Use a utility knife or caulk removal tool to carefully remove all traces of old caulk. Pay close attention to corners and hard-to-reach areas.
- Clean the Surface: Thoroughly clean the surfaces to be caulked with a suitable cleaner to remove dirt, grease, mildew, and any other debris. Make sure the surface is completely dry before applying the caulk.
- Apply Masking Tape: Apply masking tape along both sides of the area to be caulked, leaving a narrow gap for the caulk. This will help create clean, straight lines.
Applying Crystal Clear Caulk: Step-by-Step Guide
Now that you’ve prepared the surface, it’s time to apply the crystal clear caulk.
Cutting the Nozzle
- Cut at an Angle: Cut the nozzle of the caulk tube at a 45-degree angle.
- Start Small: Begin with a small opening. You can always make it larger if needed. The size of the opening will determine the bead size.
Loading the Caulk Gun
- Insert the Tube: Place the caulk tube into the caulk gun.
- Engage the Plunger: Fully engage the plunger to ensure it pushes the caulk forward.
Applying the Caulk
- Consistent Pressure: Apply a steady and even pressure on the caulk gun trigger.
- Smooth Bead: Move the caulk gun along the joint in a smooth, continuous motion to create an even bead of caulk. Avoid stopping and starting, as this can create unevenness.
- Slightly Overfill: It’s better to slightly overfill the joint with caulk, as you’ll be smoothing it down later.
Finishing Touches: Smoothing and Cleanup
The final steps are essential for achieving a professional-looking finish.
Smoothing the Caulk
- Use a Smoothing Tool: Immediately after applying the caulk, use a caulk smoothing tool or a gloved finger dipped in water to smooth the bead.
- Remove Excess Caulk: Wipe away any excess caulk with a damp paper towel.
- Consistent Angle: Maintain a consistent angle when smoothing to create a uniform finish.
Removing Masking Tape
- Immediately Remove: Carefully remove the masking tape while the caulk is still wet.
- Pull Away: Pull the tape away from the caulk line at a 45-degree angle.
Final Inspection
- Check for Gaps: Inspect the caulk line for any gaps or imperfections.
- Touch Up: If necessary, apply a small amount of caulk to fill any gaps and smooth it out.
Troubleshooting Common Issues
Even with careful application, you might encounter some common problems.
Common Problems & Solutions
| Problem | Solution |
|---|---|
| Uneven Bead | Apply consistent pressure and maintain a smooth, continuous motion. |
| Air Bubbles | Cut the nozzle closer to the base and ensure the surface is dry. |
| Caulk Not Adhering | Clean the surface thoroughly and ensure it’s completely dry before application. |
| Yellowing | Use a high-quality, UV-resistant crystal clear caulk. |
Crystal Clear Caulk: FAQs
Here are some frequently asked questions about using crystal clear caulk for your next project.
What exactly is crystal clear caulk?
Crystal clear caulk is a sealant that dries transparent, allowing the surface underneath to show through. It’s ideal for applications where you want a waterproof seal without obscuring the existing color or pattern.
Where is crystal clear caulk best used?
It excels in areas like tiling, sinks, and countertops where a clean, unobtrusive seal is desired. Think of showers, backsplashes, or around windows where you want a clear, watertight barrier.
How do I prepare a surface for crystal clear caulk?
Thoroughly clean and dry the surface. Remove any old caulk or debris. A clean surface will ensure better adhesion and a longer-lasting seal with your crystal clear caulk.
How long does crystal clear caulk take to fully cure?
Cure times vary depending on humidity and temperature, but generally, allow 24-48 hours for complete curing. Check the manufacturer’s instructions on your specific tube of crystal clear caulk for the most accurate drying time.
So, armed with these pro tips, you’re ready to tackle that next project! Go get ’em, and remember, a little crystal clear caulk goes a long way towards a professional finish.