Creating basement temporary walls offers a practical solution for dividing space efficiently. Understanding the building codes in your locality is crucial when planning this DIY project, as regulations differ significantly. Securing necessary permits will ensure your basement temporary walls comply with local laws and safety standards. DeWalt tools provide reliable performance when constructing your basement temporary walls, allowing for precise cuts and secure fastening. These structures provide flexible space management, making basement temporary walls an attractive alternative to permanent construction, perfect for optimizing your living area.
Building Basement Temporary Walls: A Weekend Project Guide
This guide provides a clear and actionable plan for constructing basement temporary walls over a single weekend. We’ll cover everything from planning and material selection to the actual construction process, ensuring a successful and manageable project. The focus is on creating temporary walls that are easily removable and do not permanently alter the existing basement structure.
Planning and Preparation
Before you even pick up a tool, thorough planning is essential. Proper planning minimizes errors, saves time, and helps you stay within budget.
Assessing Your Needs and Goals
- Determine the Purpose: What is the wall intended to achieve? Are you creating a separate room, dividing a large space, or concealing utilities? Defining the purpose will influence the materials and construction methods you choose.
- Measure the Space: Accurately measure the length, width, and height of the area where the wall will be installed. Account for any obstructions like pipes, ducts, or windows.
- Sketch a Design: Create a simple sketch of the proposed wall, including dimensions and the placement of any doors or openings. This visual aid helps you visualize the final product and identify potential challenges.
Material Selection
Choosing the right materials is crucial for a cost-effective and easy-to-disassemble basement temporary wall.
- Framing:
- Wood: Standard 2×4 lumber is a common and readily available option. It’s relatively inexpensive and easy to work with. However, ensure the wood is properly treated to prevent moisture damage in the basement environment.
- Metal Studs: Lightweight metal studs are resistant to moisture and warping. They’re also easy to cut and assemble using self-tapping screws.
- Wall Covering:
- Fabric: Attaching fabric to the frame is a lightweight and visually appealing option, and relatively inexpensive.
- Plywood/OSB: Thin plywood or oriented strand board (OSB) provides a more solid and durable wall covering. Choose moisture-resistant varieties.
- Plastic Sheeting: For purely functional purposes, heavy-duty plastic sheeting can be used to create a dust barrier or visual screen.
- Fasteners:
- Screws: Use screws instead of nails for easier disassembly. Choose screws appropriate for the framing material.
- Construction Adhesive: Construction adhesive can add strength and stability to the frame, but use it sparingly if you intend to remove the wall easily.
- Other Essential Materials:
- Safety Glasses
- Gloves
- Measuring Tape
- Level
- Saw (circular saw or hand saw)
- Drill/Screwdriver
- Stud Finder
- Shims
Budgeting and Cost Estimation
Create a detailed budget that includes the cost of all materials, tools (if you need to purchase them), and any potential unexpected expenses. Research prices at local hardware stores or online retailers to get an accurate estimate. Consider the long-term cost: If a material is more expensive but longer-lasting or easier to work with, it might be worth the investment.
Building the Frame
The frame is the structural foundation of your basement temporary wall. Accuracy and stability are key to a successful build.
Cutting the Lumber/Metal Studs
Carefully cut the lumber or metal studs according to your measurements. Double-check your measurements before cutting to avoid costly mistakes.
- Top and Bottom Plates: Cut two pieces to the length of the wall. These are the horizontal pieces that will anchor the frame.
- Vertical Studs: Cut the vertical studs to the height of the wall, minus the combined thickness of the top and bottom plates. Typically, studs are spaced 16 inches or 24 inches on center.
Assembling the Frame
- Lay the top and bottom plates parallel to each other on a flat surface.
- Position the vertical studs between the plates, ensuring they are evenly spaced.
- Secure the studs to the plates using screws. Pre-drilling pilot holes can prevent the wood from splitting.
- For added stability, consider adding horizontal bracing between the studs.
Anchoring the Frame
Since these are temporary walls, you want to avoid permanent fixings.
- Using Friction: The easiest method is to rely on friction. The frame is built slightly larger than the space, and forced into place. This is best suited to walls shorter than 8 feet.
- Vertical Poles: These are typically steel poles (such as those sold for DIY shelving) that can extend vertically from the floor to the ceiling, with screws to tighten the grip. The horizontal frame is connected to these poles to allow for tightening and bracing.
- Adjustable Feet: At the base of the frame, fit adjustable furniture feet. By rotating these, the feet can be tightened to the floor, applying pressure to hold the wall in place. Shims may be required if the floor or ceiling is not perfectly level. These are ideal for uneven floors.
- Avoiding Permanent Attachments: Avoid nailing or screwing the frame directly into the floor or ceiling. This will create permanent damage and defeat the purpose of a temporary wall.
Covering the Frame
The wall covering provides the finished look and any desired functionality, such as privacy or sound dampening.
Attaching Fabric
- Stretch the fabric tightly over the frame.
- Secure the fabric to the frame using staples, tacks, or adhesive.
- Ensure the fabric is smooth and wrinkle-free.
Installing Plywood/OSB
- Cut the plywood or OSB to fit the frame.
- Attach the plywood/OSB to the frame using screws.
- Consider adding trim to the edges for a more finished look.
Applying Plastic Sheeting
- Unroll the plastic sheeting and cut it to the desired size.
- Staple the plastic sheeting to the frame, ensuring it is taut and secure.
- Use tape to seal any seams or gaps.
Finishing Touches
The final steps will make the temporary wall feel more professional and tailored to your specific needs.
Adding Trim and Molding
Installing trim and molding along the edges of the wall can conceal any imperfections and provide a more polished look.
Painting or Staining
If you are using plywood or OSB, consider painting or staining the wall to match the surrounding decor.
Installing a Door (Optional)
If you need a doorway, incorporate it into the frame design and install a pre-hung door. Ensure the door swing does not interfere with the surrounding space.
FAQs: Basement Temporary Walls in a Weekend
Here are some common questions about building basement temporary walls. We hope these answers help you with your weekend project!
What are basement temporary walls used for?
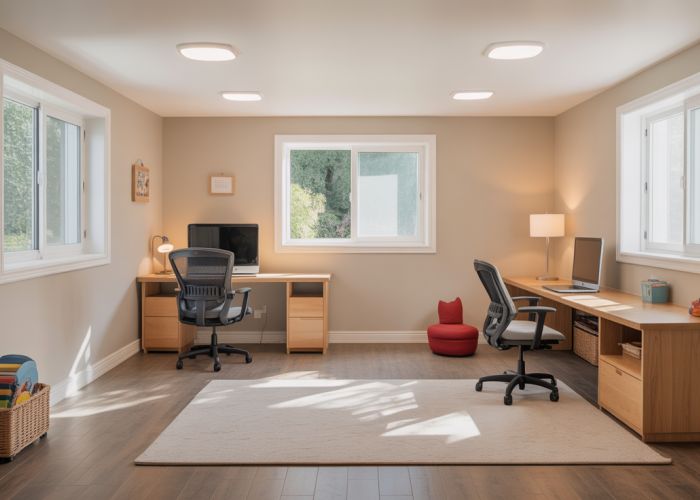
Basement temporary walls are non-structural walls used to divide a basement space. They can create temporary rooms like offices, play areas, or storage spaces, offering flexibility without permanent construction. These walls don’t support the structure of your house.
Are permits required for basement temporary walls?
Generally, permits are not required for basement temporary walls as they aren’t load-bearing and considered temporary structures. However, it’s always best to check with your local building codes and regulations to be certain, as rules vary.
How easy are basement temporary walls to remove?
Basement temporary walls are designed for easy removal. They are typically attached with screws or other removable fasteners, allowing you to disassemble them and reconfigure your basement space as needed with relative ease.
What materials are best for building basement temporary walls?
Common materials include 2×4 lumber for framing and drywall for the wall covering. Consider using pressure-treated lumber for the bottom plate if moisture is a concern. You can also explore alternatives like fabric panels or repurposed materials for a more creative look.
So, feeling ready to tackle those basement temporary walls this weekend? We think you’ve got this! Remember to double-check those measurements, and happy building!